March 27, 2012

Ooooooh How Shiny....

Like any normal girl or woman, I love shiny things. It's not that they are distracting, well not always, but gosh darn they are nice to look at. That is one reason I just got some new pots and pans. The other reason being that our current set was looking pretty sad and a little broken too. Not to mention the good amount of non-stick fibers that are missing from the pans and more than likely have been ingested by us.

 Now look at this beautiful set of pots and pans we finally decided to jump the gun and get!


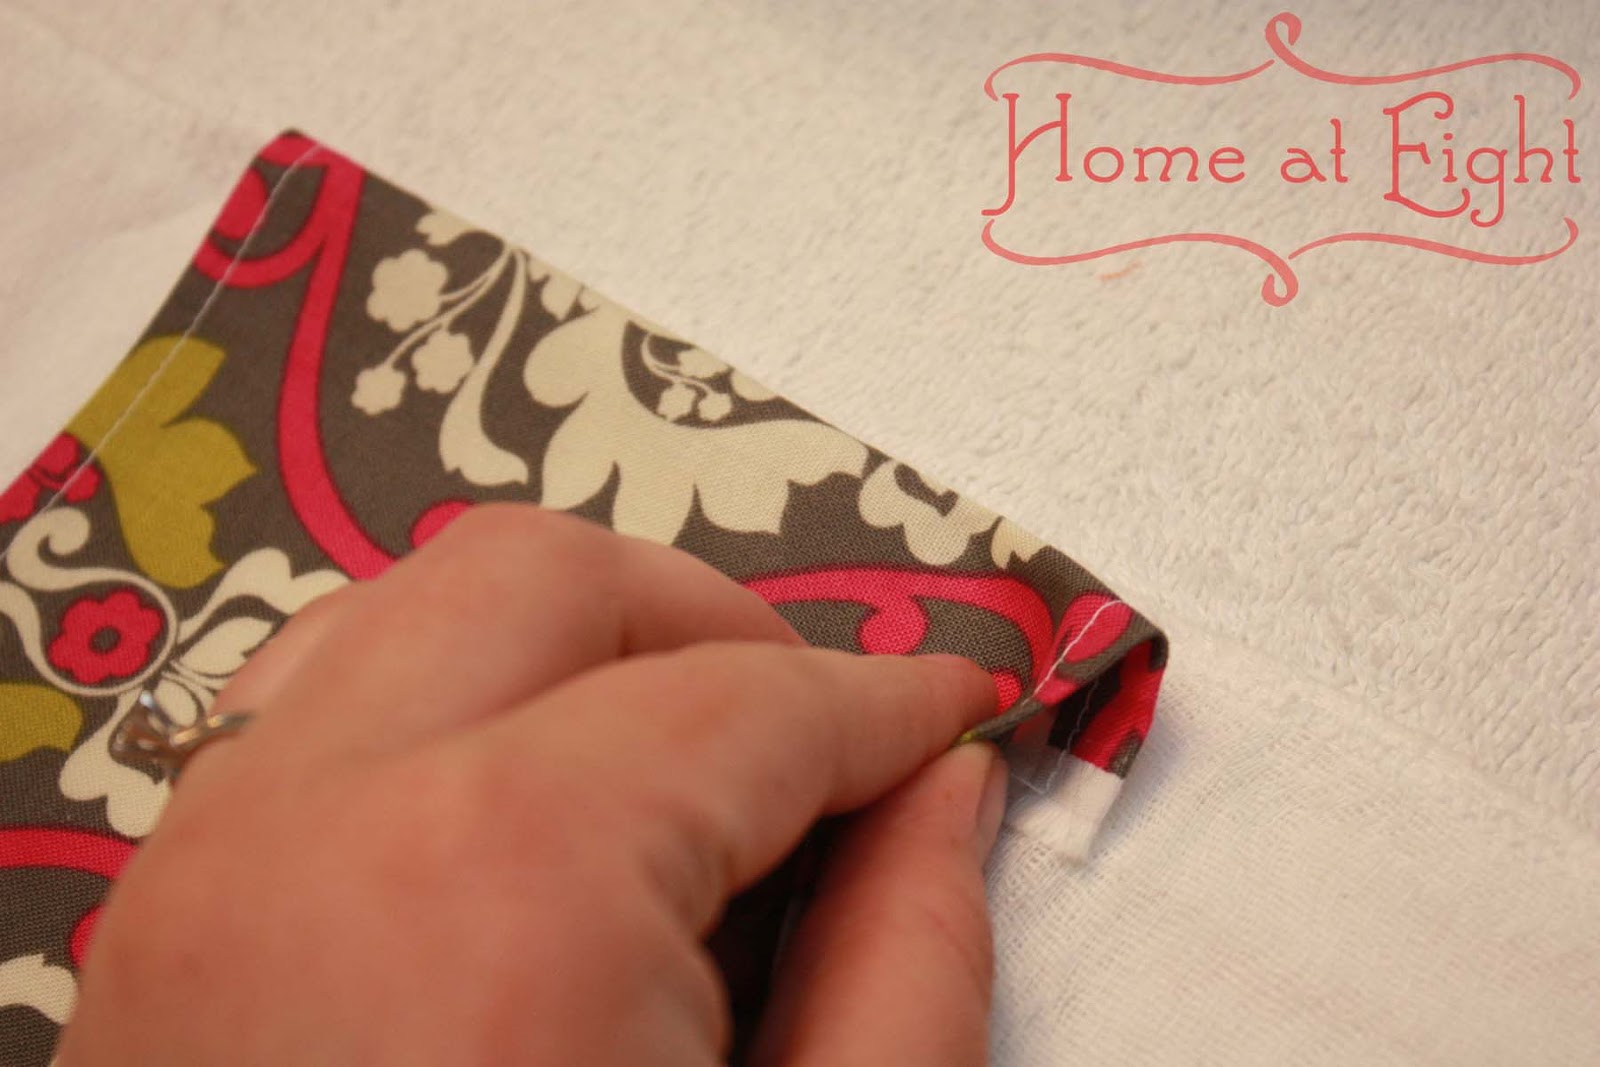
Aren't they just gorgeous, too bad I didn't set this shot up while obviously making veggie spaghetti. The coolest part about this set is that it also came with a short and round 5 quart pot besides the one shown, as well as a set of stainless steel kitchen utensils. As well the lids to the pots have two different types of strainers on them. This means getting the noodles drained and back into the pot is not longer a hassle or hazard of life or death.


Now the best part, even better than the amazing beauty and love I have for these (I have been pining after them since August) is the price. The whole set was only $100 at good old Sams Club. Yep, that's it! And I am pretty sure these suckers will last a long time, so they will pay for themselves in time.

 I will be posting lots of cooking photos just because of these pans, expect a photo of grilled cheese sandwiches with only a corner of the sandwich showing. I hope you love your pots and pans as much as I do and remember to respect them. For they shut that monster in your tummy up with delicious food!

I will be back soon with more about my freezer meal adventures, with recipes as well. -Alisha


DISCLAIMER- I was in no way, shape, or form paid to purchase these items or mention them in my blog. The opinions stated are completely and 100%  my own. I also was not paid to endorse this product or that of the store I purchased them at. I just love them that much to do it! -Alisha Landreth of Home At Eight

March 18, 2012

Sew Cute!

      Yes, I just used a sewing pun in the title; but wait until you see these babies!


    I vamped up some cloth diapers for a friend before she had her bundle of joy and now I will teach you how to make some of your own. Personally I think I may just have to make some for myself just to use around the house. They are too cute to resist and super easy to not make them.

    Here is a list of supplies

  • Package of Cloth diapers (usually they run about $10 for a pack of 5) 
  • Cotton fabrics of your choice. You only need 1/4 of a yard, you will have plenty left over.
  • measuring tape, white thread, scissors, and a sewing machine. 
  • Iron and starch
  • About an hour or two to finish them completely. 


First I measured the middle of the cloth diaper on which the fabric would be seam to. It measured at about 
51/2 inches.  Therefore I needed to have my fabric strips cut at 6 1/2 inches to have a seam for sewing. As well measure the length of the cloth which was about 20 inches so I cut at 21 inches. 


  I used my Silhouette Cameo to cut the fabric to perfect size, also sometimes I can go a little rigid with the scissors and I wanted these to be perfect. Make sure to keep measuring throughout the whole process. Next I took the cut fabric and lined them up on top of the cloths to make sure they matched. 


Perfect! Before you sew you need to fold under the edges for a flawless seam. I flipped the fabric over to the wrong side and folded each 21 inch side over by 1/2 an inch. Spray the edge with a good amount of starch spray and iron the edge down to keep it flat for sewing. On the ends of the fabric I tucked the corner in and folded over again to give a half inch seam that wouldn't stick out from the sides. I used a towel on the dining room table to keep everything in one space.


Sew a single stitch around the whole piece of fabric to keep the edges flat for sewing onto the cloth. Then one at a time place each piece of fabric onto a cloth diaper down the middle and pin it for sewing. I like to place the pins facing outwards so I can pull them out with my left hand while the other hand leads the fabric through the sewing machine. 


First I used a single stitch all the way around the edges on the seams to connect them in general. Lastly I used a zig-zag stitch all the way around to close the edges completely and to give it a little bit of decoration. 


 Now repeat as many times as you'd like! They are so easy to make and well worth it. I hope you like them as much as I do. If you have any questions please ask me and let me know if I left anything out that you need to know to make your own. Make sure to wash the cloths before you use them with your bundle of love or just around the house. Enjoy! 


March 2, 2012

A Month In A Day-Part One

      First off I must apologize for not getting this posted sooner. You can blame it on the colds and such going around, as well as my "awesome" immune system. That being said I think we both agree that you will be either loving this post for the amount of info or calling me crazy at the end. You could do both, go ahead. I will cheer on the crazy chants with you!
Last months freezer "haul". We ended up with about a weeks worth still left this month. 

This is only part one on what you need to get started and organized.
     Let's get started! What will you need?
  •  Write down your goal for this new way of life. Is it to save money or time? Maybe it is both, map it out and let the whole family in on it. Make it a family decision and make the rules.
  • A Calendar or list/planner for the month. Make sure there is enough space for each day to write the meals or ideas.This is an awesome meal planner by Mead. You can download this or buy the organizer books at Target. (There are so many helpful planners to print for free here!)
  • What is your budget? : This is the biggest part of freezer meal cooking. Give yourself a budget with a little leeway for the first month. The first month will tell you almost everything you need to know about how your family eats and what they like.
  • Dinner List: Write down all of the dinners and meals you know for a fact your family will eat. Do you know what you eat the most every month? Make sure this is on the list, it will be the go to when you're feeling like comfort food.
  • Lunches & Breakfast: Are you going to try and make the whole months meals including all 3 meals for everyday? Or are you going to make these once a week, or every day. Make sure you know this ahead of time. Go ahead and plan them out too just so you know what you can expect on your grocery trip.
  • Take an inventory of what you have in your pantry and refrigerator. Make sure you know what ingredients you have as well. 
  • Find recipes and write down all of the ingredients you need to buy and what you already have. Make sure you duplicate the recipes so you buy enough of everything. 
  • Plan a weekend to shop and cook. Usually I will take my Friday or Saturday and just go shopping. Then on Sunday I will cook all day. 
      Remember to have fun with this, it is going to make your life easier. I promise. Just thinking about this while you are cooking all day will make it a funner day. I usually have my iPad nearby and watch movies all day while I am cooking. I also found this great website for you guys with some very helpful tips. This goes straight to the beginners page for new freezer meal cookers. She has a download for what freezes well and what doesn't. I hope this helps! 

       Later this week I will post about getting the ingredients together and the cooking. I am doing my cooking this weekend. I promise I will not go this long again without posting. 

Have a fabulous weekend and let's get to cooking! - Alisha

Newer Posts Older Posts Home