I am back with a tutorial on how to cut out a design with the Silhouette Cameo from iron on transfer paper. It is a very easy project and one that anyone can do, even with minimal Silhouette Experience. Unfortunately I didn't get to finish the project as little miss Caroline woke up, I will share a similar finished product later with her birthday photos.
Throughout these photos I will show you how to group your items and get them to the cut out point. Then you would simply follow your iron on transfer instructions.

|
| When you are done with placing your design elements, select all of the items together in that grouping and use the group selected shapes. |

|
| Next I placed my letter into the group and moved the shapes into place to make one large grouping. Then I selected all of the items together and grouped them. |

|
| Next select the Offset tool and choose the offset button with a "round" corner to the shape. I wanted it close but to still have a small outline when it was being cut. Then make sure to select both the shapes (outline and design) and group them together. |

|
Go to the cut properties and select cut edge. You can now see where the outline is around the design.
|

|
Next you will need to mirror your image to the left. This ensures that when you print out the image on the transfer paper and cut it, that it will show up correctly when it is applied to the fabric.
|

|
| Now turn on your registration marks so that the Silhouette can detect the image to be cut. I made my area about 5x7 to only use half the paper. Just make sure your image is inside the red box. The cutting settings I used were for custom media, since there was no cutting mat. Thickness of 4, speed 3, the blade was set at 7 and with the double cut feature turned on. |

|
| Turn your rollers to the 9inch (first notch), or smallest setting on the Cameo for cutting. I did not use a cutting mat with this project. To load the paper select Load Media on the Silhouette machine menu and then ok. |
Now you can press cut and let the machine do it's magic. Make sure it tells you it that it is detecting the registration marks.

|
Now you can pop your image out of the transfer paper. Be careful and go slowly. You do not want any extra tears on the paper.
|
|
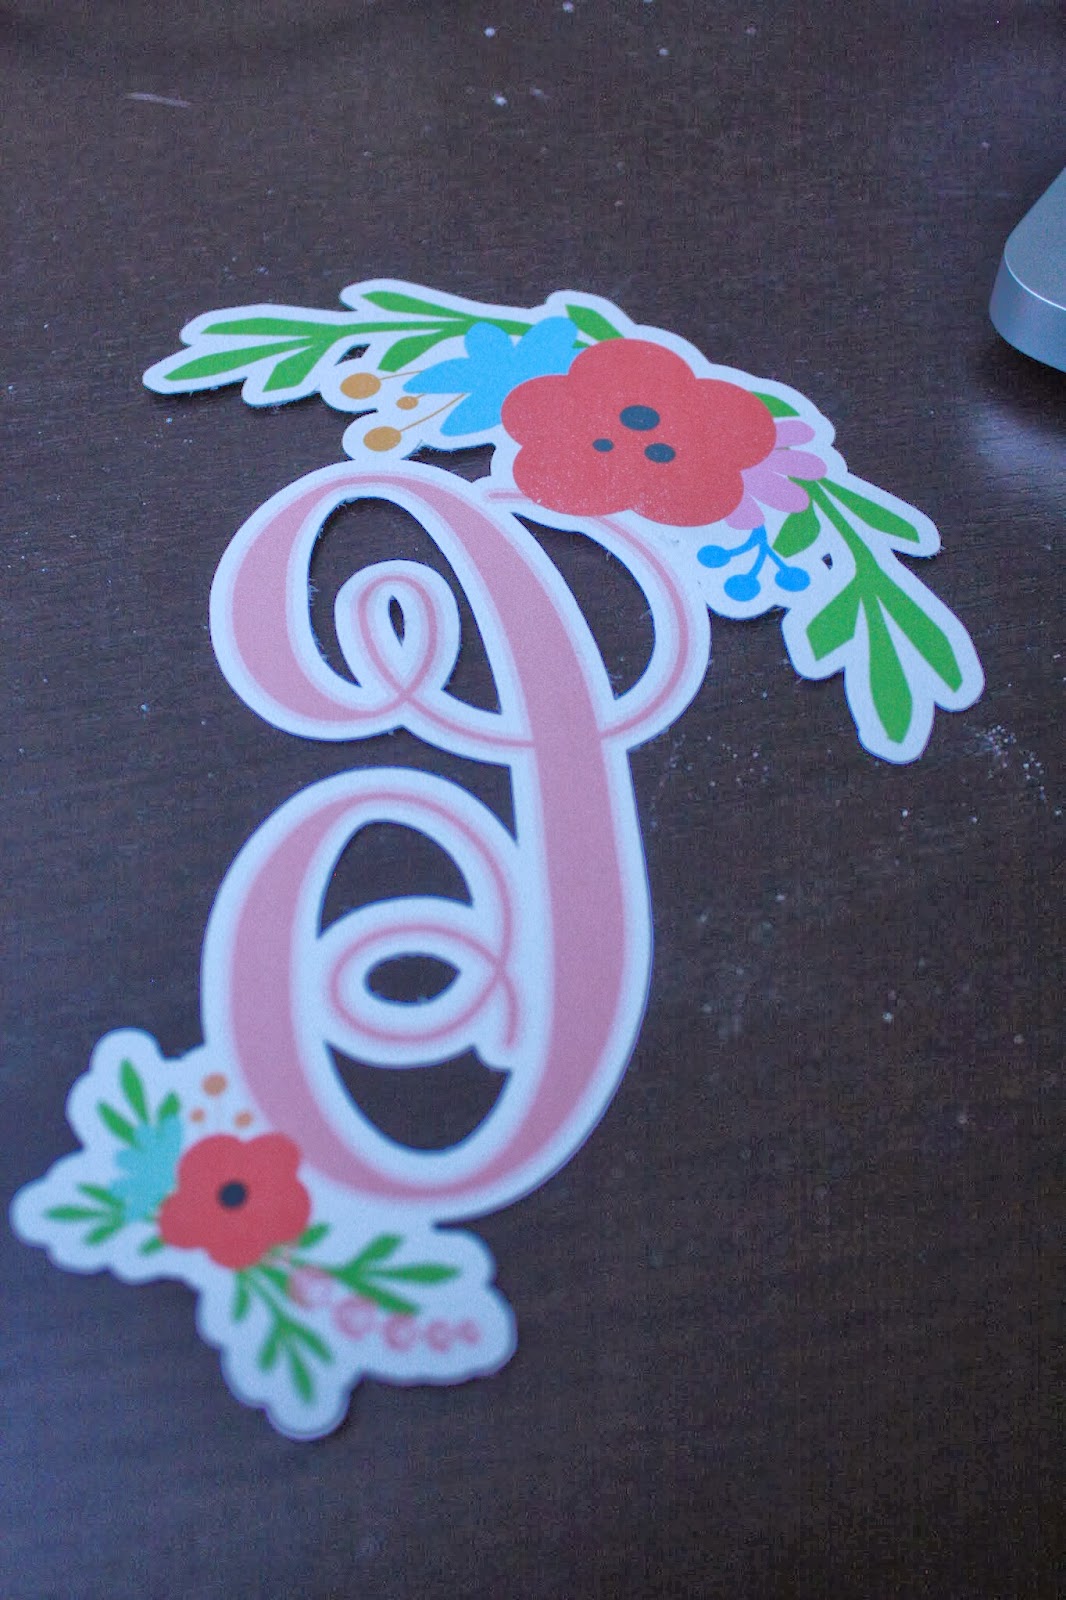
| The finished cut out!! Now turn it over and follow your product instruction to iron it on to the fabric.
|
I made a birthday shirt for my daughter using this technique and will be taking photos of her soon. I will post these as soon as I take them. I hope this tutorial helps you with learning a little more about using your machine. Feel free to ask me any questions that you may have about this tutorial or other features of your Silhouette! Thanks and Enjoy.
