
Here goes my first ever Silhouette Challenge! I am so excited to share with you something that I really love. This is a very simple project, but it can make all the difference in the appearance of the final package. I used my Cameo to write out the addresses on my envelopes for Caroline's announcements.
To do this project I used this nifty accessory, you can put your own pens or markers in it and use it to draw or write out designs. Although the pen sizes are very limited.
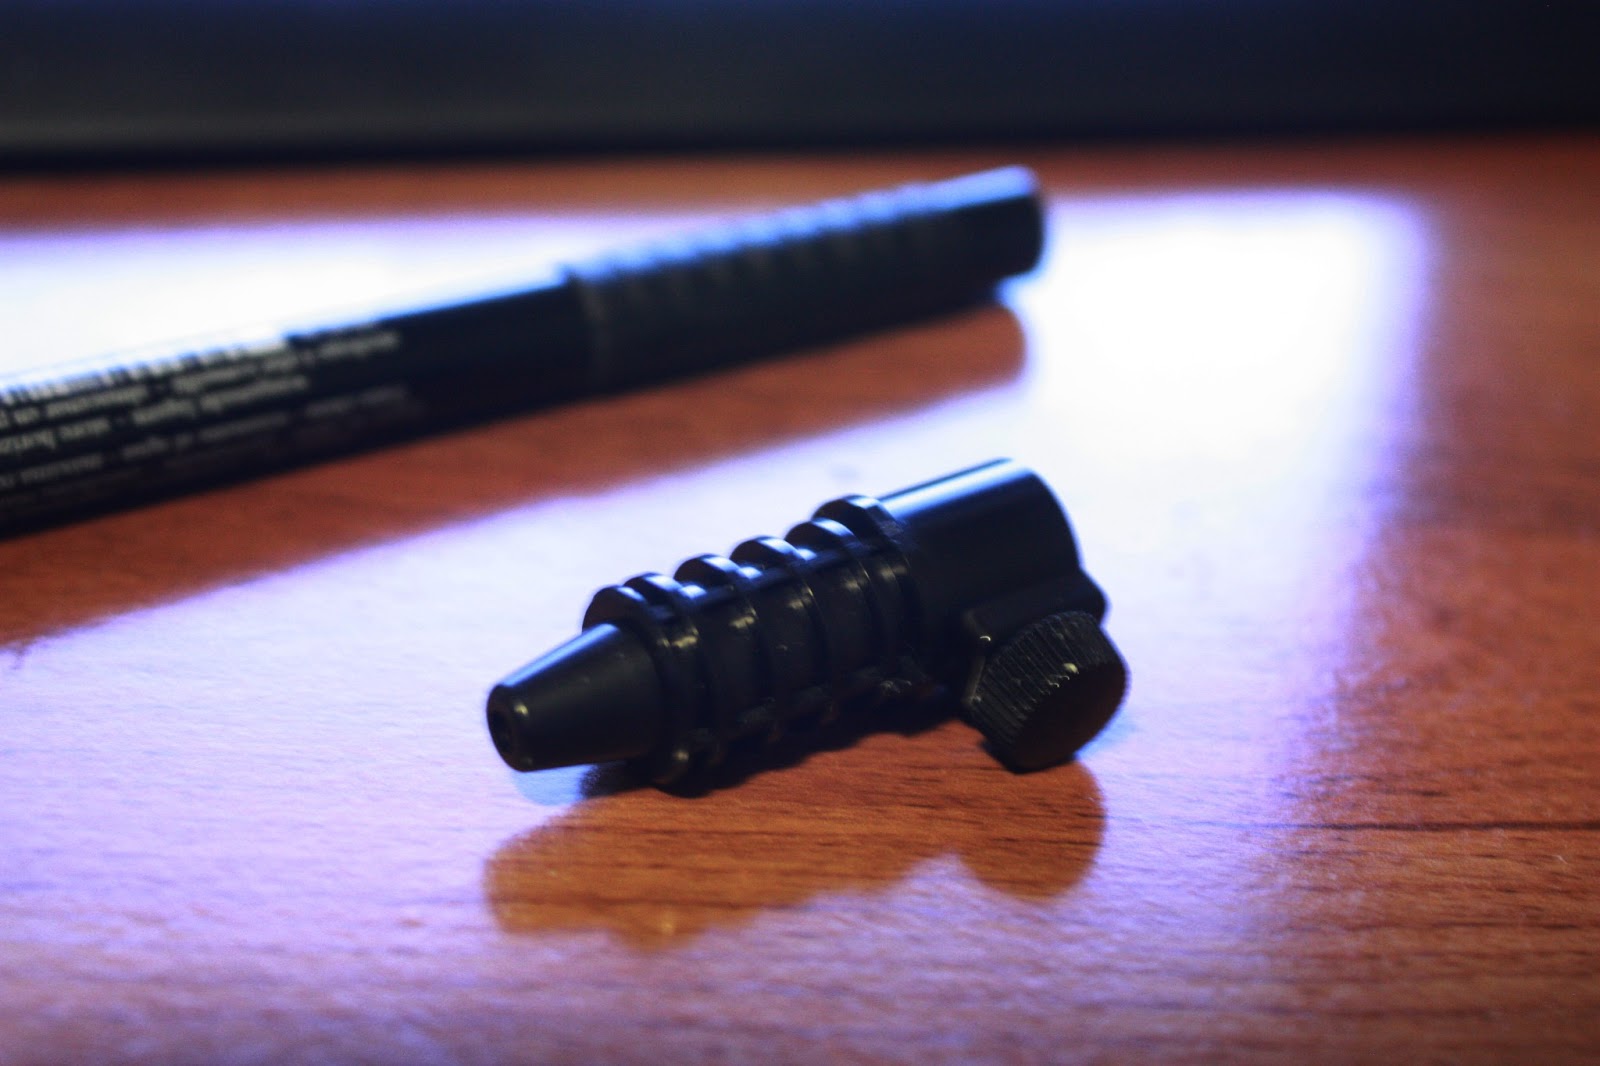
1. Insert the pen into the pen holder and then put it in place of your blade.

2. Next I opened the Silhouette software and made a 5x7 template since that is the size of the card going in the envelope, this way I still have room left on the envelope around the edges.

|
| Address is blurred for privacy. |

4. To "print" the envelope you can now go to your cut settings and select the pen option instead of blade. The program will automatically select the custom media and correct settings to use the pen. Now press "Cut" and watch it write it out for you!

I used a little thicker of a pen for this, I am planning on purchasing the Silhouette pen set. They fit the blade area perfect and have a finer tip. As well you can get fun colors and even metallic pens! They turned out pretty well and think they add a more personal touch to send the announcements off to grandparents and family members. I added washi tape to close the envelopes and an address label to finish it off.

Though this is a simple project, it really was fun to use the Silhouette for something as simple as addressing a letter. I hope you enjoyed! Next month will be an even bigger project! I can't wait to share it. Please leave any questions or comments you may have below. -Alisha
Go check out some other ladies Silhouette Challenges from this month!
If you are a Silhouette user and would like to join us contact Lauren from The Thinking Closet Here.
- DIY Paper Star Lanterns by Me & My DIY
- A Jar of Gratefulness by We ♥ Cards
- Adding Easy Sketch Pen Detail to Silhouette Cuts by It Happens in a Blink
- Laundry Room Labels by Unoriginal Mom
- Kids Step Stool with Sass by Joy & Gladness of Heart
- Magnetic Perpetual Calendar by Everydaypaper
- Silhouette Fabric Ink {An Experiment} by Create & Babble
- Playhouse Signs: Who Will We Be Today? by Suburble
- How to Get a Second Wind Out of Your Gel Manicure by The Thinking Closet
- DIY Graduation Gift by Super Sweet Life
- Oval Coffee Table Reveal & More! by Give Me a Paintbrush
- Stamped Gift Boxes by Coley's Corner
- Monsters University T-Shirt by Tried & True
- Travel Accessories for Vacation Mementos & Business by An Elegant Touch
- A Silhouette Challenge Project by Mel Stampz


This is a great project Alisha! I did the same thing for my daughter's graduation announcements a couple years ago. I found that the single line fonts work really well for this application. I love that the script almost looks handwritten. You can't beat that! I'm looking forward to seeing your project next month. :)
ReplyDebbie
Thanks Debbie! I really enjoy using this feature, even more so when using the metallic pens. I know it's probably easier to print, but I really like that it leaves an indent as if I could really write that pretty!
Yay for the comment form! I love how very professional the sketches turned out on these...makes me think they'd make for lovely wedding invitations. And I love the added touch of the washi. (Storing that in the back of my noggin for when my sister gets married someday.) What font did you use, perchance?
ReplySo happy you participated this month, Alisha! Can't wait to see more from you!
Warmly,
Lauren
The Thinking Closet
Yay! I am not sure what happened, I went through every post and it looks like when I renewed my site last year it stopped the comment forms! Washi tapes makes everything better. The font is called freebooter script, I get a lot of my fonts from fontalicious or dafont.com. Thanks for letting me join in on the fun! It has renewed my love for my silhouette and blogging all over again!
Ohhh, I've been wanting to get my hands on a pen holder. You mentioned that the pen sizes are limited. Can you say anything more about that? Do you have any tips on doing a bunch of envelopes at once?
ReplyValerie, I highly recommend it! It's a lot of fun. I've even used colored pencils in it before to do a sketch. It holds a small/medium size pen, when you get down to the tip part is when it gets to be an issue. I believe there is a custom one out there that you can get that will hold larger pens.
As far as several envelopes at once, I have a 12x24 cricut mat I got from hobby lobby. I would put them side by side and use the duplicate feature on the silhouette program. Just make sure everything measures out correctly on both the program and the mat. If you'd like I can do a quick tutorial on it. -Alisha
Thanks for your reply Alisha! The 12x24 mat is a great idea. I've seen the custom pen holder online and I was thinking of getting it for more flexibility. Oh the possibilities!
where is the pen holder from? I think it is great by the way!
ReplyThanks Kelly! I got the one made by Silhouette. I see it's not available right now in the online store. I believe there is a custom one out there online. I will see if I can find it. -Alisha